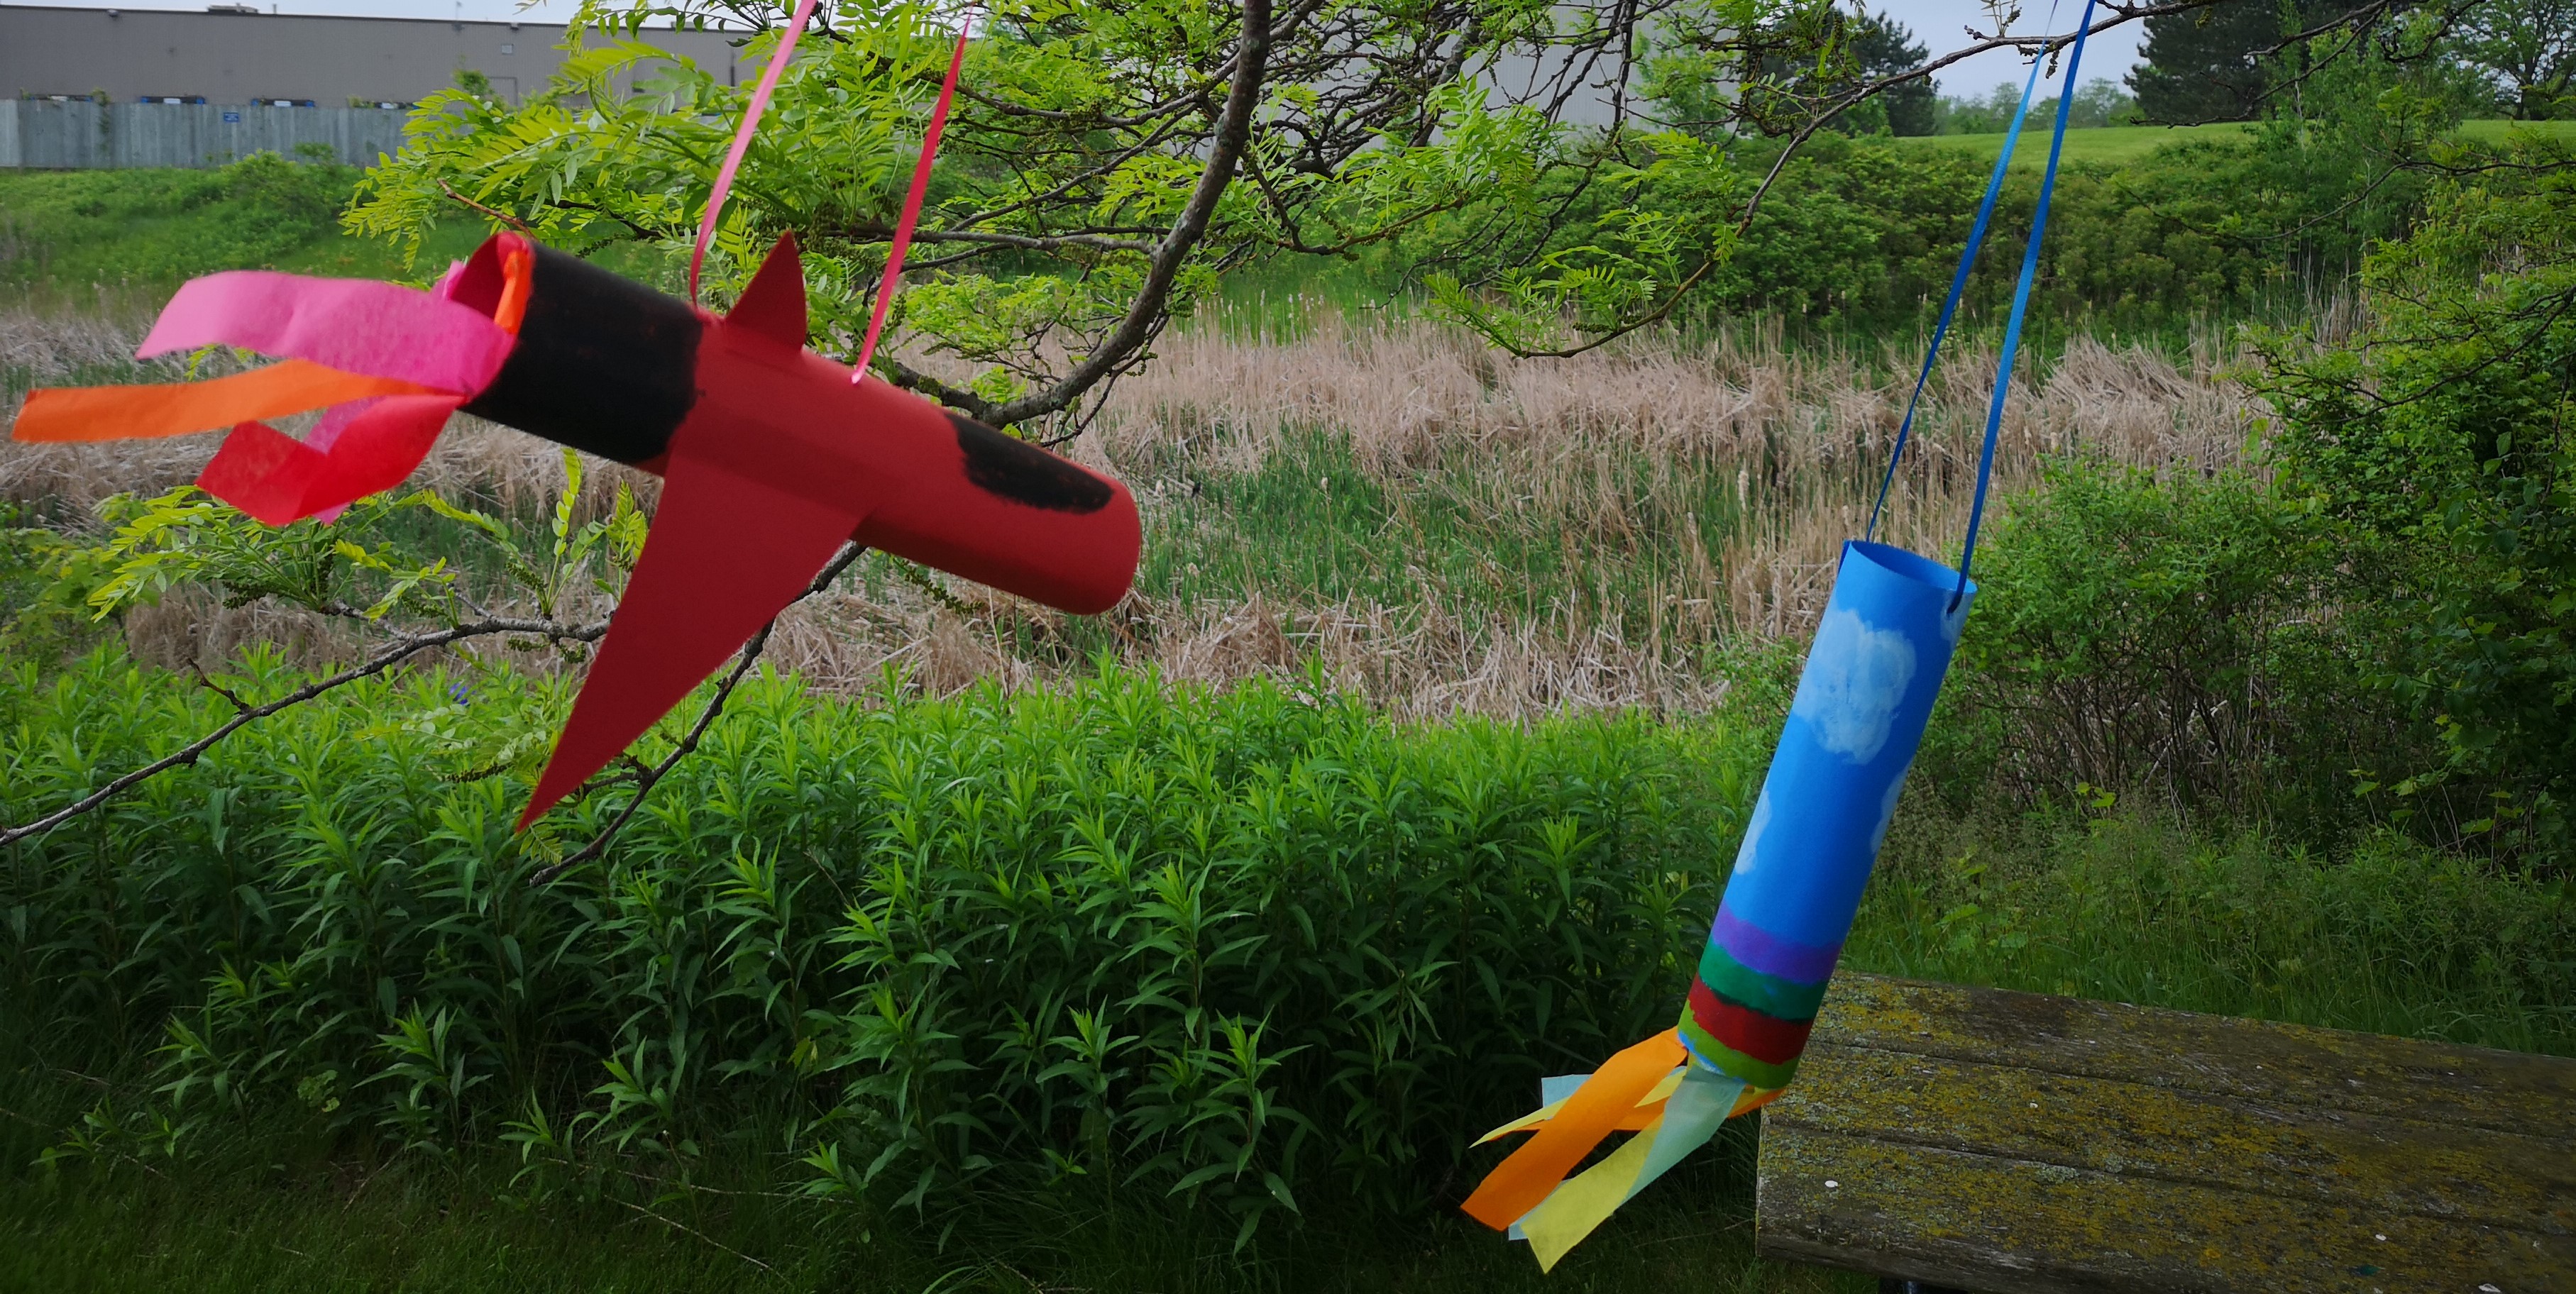
With the warm weather coming this spring, let’s make a fun craft for the outdoors! We’re going to harness the power of wind with our own, home made windsock! Get your imaginations ready!
You will need
- Construction Paper

- Tissue Paper
- Scissors
- Markers or Kwik Stix
- Glue
- String or Ribbon
Craft Instructions
1) First, we will cut the strips of tissue paper that we will be using with our blower. We used a rainbow of colours for our cloud windsock and red, orange and yellow for our rocket ship.
2) Once we have all of our strips cut out, we can glue them onto our construction paper. Start on the edge and move in with each piece you add. Make sure you glue about half or more of the strip to the construction paper.


3) Once all of your strips are glued down, add glue to the empty side of your tube and roll it up to make your windsock. Make sure you press hard as you roll so that the glue sticks to the paper.


4) When your tube is glued, take your Kwik Stix or Markers and add a fun design. We turned our blue tube into a sky and our red tube into a rocket ship. You can then add string by either using a hole punch to create holes to loop string or ribbon through, or by tying a loop around the center of your tube. You can also use extra construction paper to add fun additions to your windsock.

Congratulations! You have just made your own windsock! Now you just need to poke some holes for your string so you can hang it up!
What kind of fun windsocks can you come up with?

