

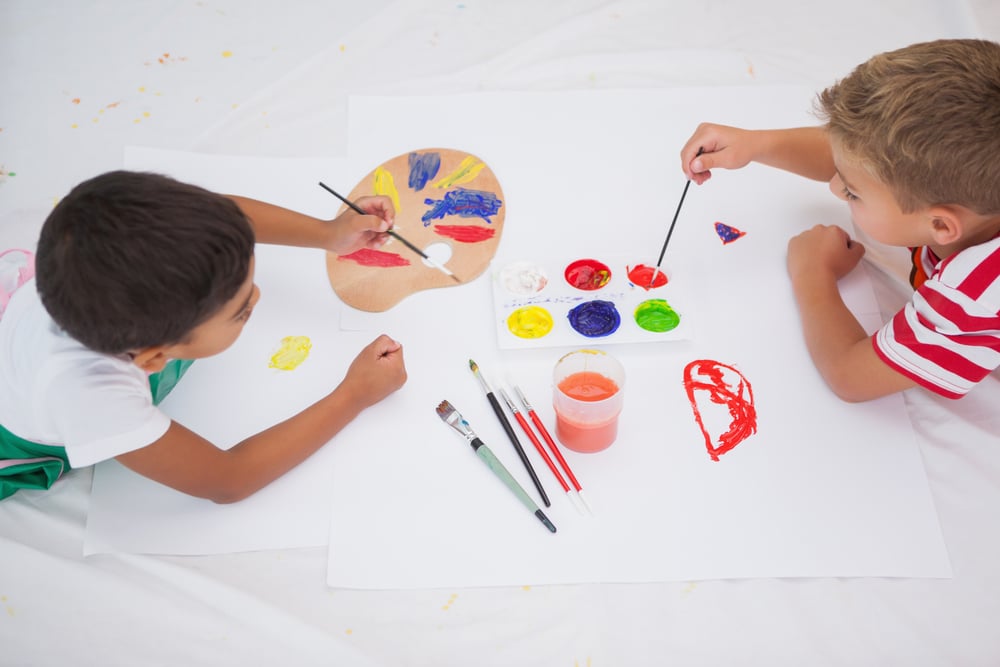
As a teacher, science can be a difficult subject to explain; and as a student, it can be a challenge to really retain. But with great science experiments, like the ones below, you can inspire your students to take the scientific learning journey even further!
Bread Mold Experiment
 via, Education.com
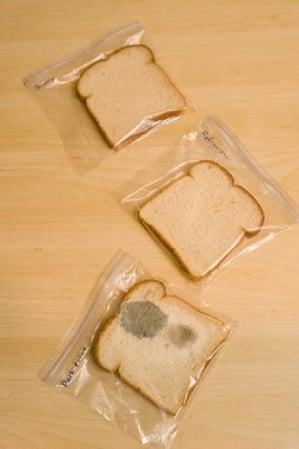
This is a neat--and slightly gross--experiment that’s easy to bring into the classroom… because it’s probably already there.
Mold spores are everywhere just waiting to multiple in the right environment, but what exactly is the best environment for bread mold? Well, you’re about to find out with this experiment.
With this simple experiment students with learn more about biology while also developing their hypothesis-making skills.
What You Need:
- 3 pieces of bread
- 3 resealable plastic bags
- Permanent marker
What You Do:
- Put 1 slice of bread in each bag and seal the baggie completely.
- Place all 3 bags of bread in different environments (somewhere dark, cold, damp, sunny, dry, etc.) and label them based on their location.
- This is a lengthier experiment, so while your students wait for result, get them to develop a hypothesis on what they believe is going to happen.
- Have the students check each baggie daily and record what they say.
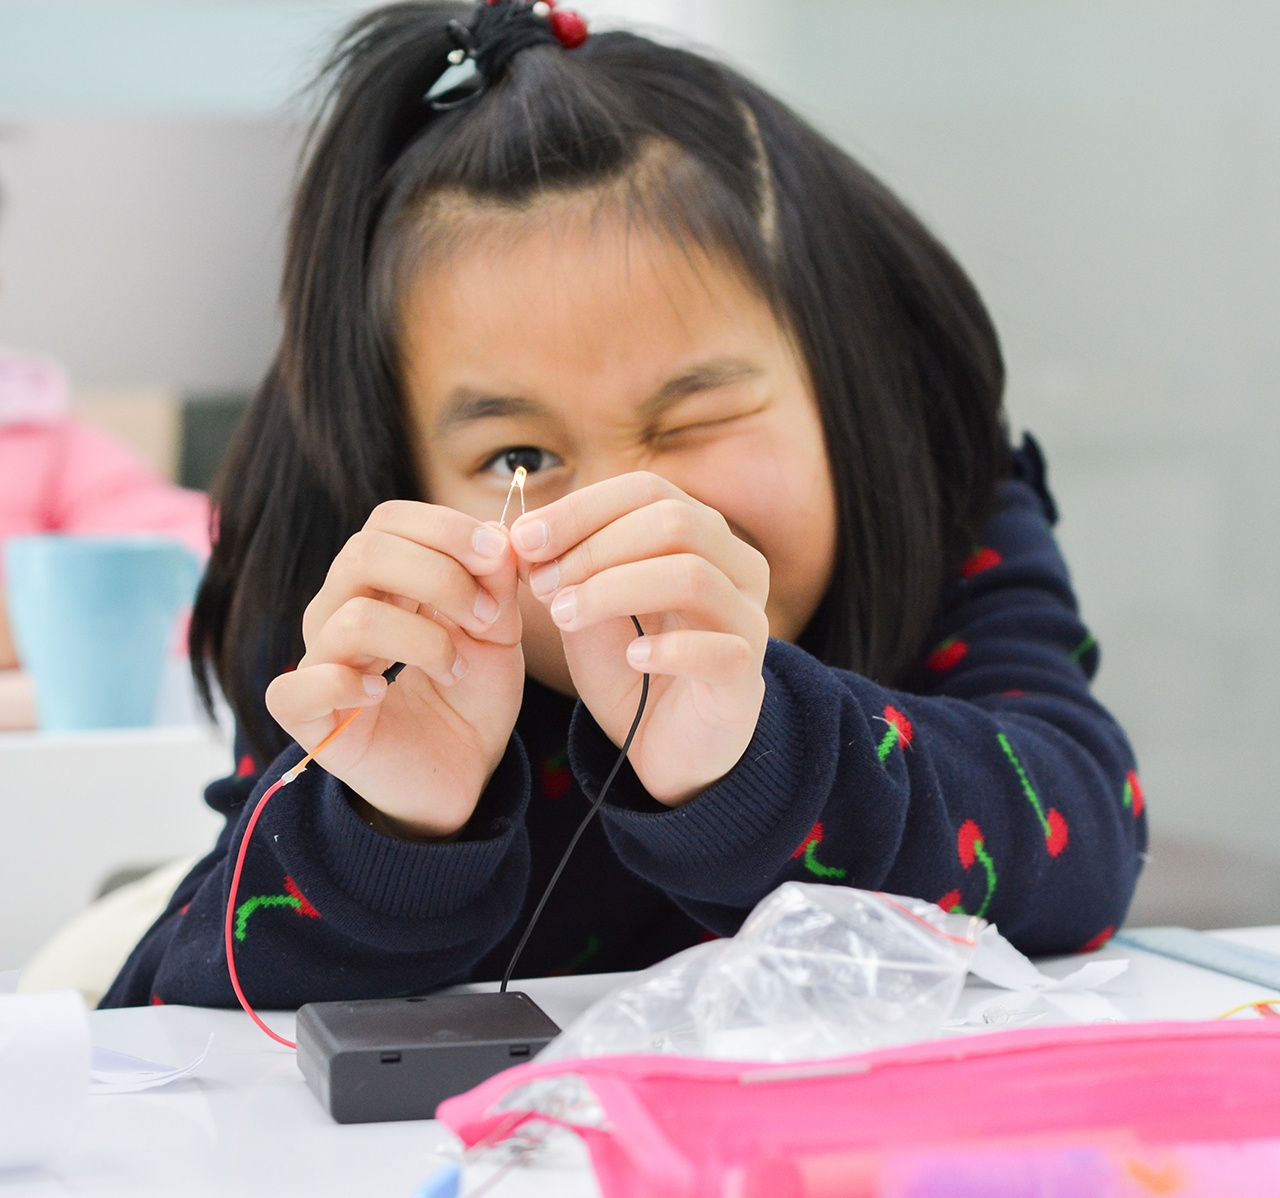
Glow in the Dark
 via, MizukiManson483 on Deviant Art
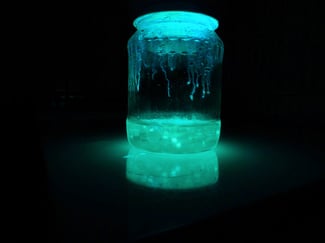
Bioluminescence is beautiful, and a fascination part of animal biology. Did you know, bioluminescence is produced by a chemical reaction within an organism, and that you can mimic/recreate this affect right in your classroom?
What You Need:
- Mortar and Pestle
- Dried Sea Fireflies
- Water
- Dark room
What You Do:
- Students grind their fireflies with pestle evenly in the mortar.
- Turn off the lights and have your students add water to their fireflies.
- Student then swirl the mixture around in mortar.
- Have them write down what they’ve observed… preferably with the lights back on.
What they should see is the mixture start to glow. This is bioluminescence.
Extracting DNA
 via, Myles Power
To extract DNA from a cell, scientists typically rely on one of many DNA extraction kits available from biotechnology companies, but for this one you’re able to extract DNA right in the classroom!
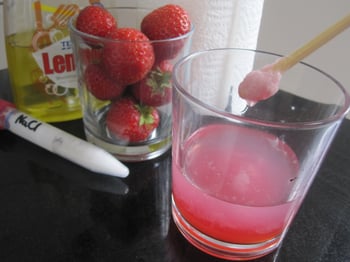
During a typical DNA extraction, a detergent causes the cell to open [lyse] and the DNA to be released into a solution. Adding alcohol to this solution then makes the DNA precipitate out. It sounds complicated, and it kind of is, but it’s so much fun to do and results are intriguing.
Oh, and don’t worry: you’ll be using strawberries for this experiment. No human test subjects needed 😉
What You Need:
- Rubbing alcohol
- Measuring cup
- Measuring spoons
- Salt
- Water
- Dish soap
- Glass
- Cheesecloth
- Funnel
- Tall drinking glass
- Three strawberries per student or group
- Resealable plastic sandwich bag
- Small glass jar (such as a spice or baby food jar)
- Bamboo skewers
What You Do: Prep this experiment by cutting the tops off of the strawberries and chilling the rubbing alcohol in the freezer before hand.
- Have students: mix ½ teaspoon of salt, 1/3 cup of water, and 1 tablespoon of dish soap in a glass or small bowl.
- Set the mixture aside. This will be the extraction liquid.
- Completely line the funnel with cheesecloth and insert the funnel tube into the tall drinking glass (not the glass with the extraction liquid in it).
- Put the strawberries into a resealable plastic sandwich bag and push out all the extra air. Seal the bag tightly.
- With your fingers, gently smash the strawberries for two minutes.
- Add 3 tablespoons of the prepared extraction liquid to the strawberries in the bag.
- Push out all the extra air and reseal the bag.
- Again, gently squeeze the strawberry mixture with your fingers for one minute.
- Pour the strawberry mixture from the bag into the funnel. Let it drip through the cheesecloth and into the tall glass until there is very little liquid left in the funnel.
- Pour the filtered strawberry liquid from the tall glass into the small glass jar so that the jar is ¼ full.
- Measure out ½ cup of cold rubbing alcohol.
- Tilt the jar and very slowly pour the alcohol down its side. Pour until the alcohol has formed approximately a one-inch-deep layer on top of the strawberry liquid. You may not need all of the ½ cup of alcohol, to form the one-inch layer. Do not let the strawberry liquid and alcohol mix.
- The strawberry DNA should then start to appear as gooey clear/white stringy stuff.
- Dip the bamboo skewer into the jar where the strawberry liquid and alcohol layers meet and then pull up the skewer.
- Have your students report on what they are observing.
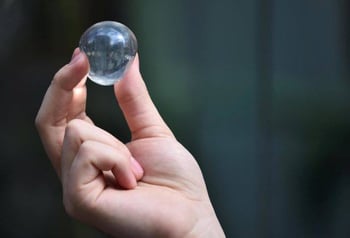
Edible Water “Bottle”
 via, Food Beast
We all know it, plastic water bottles are the scourge of the earth! But what If you could make your own water bottle that you could eat?
For the experiment, you and your student are going to enact a process called "spherification," a process that has been used in the culinary industry for years.
There are two types of spherification: direct and reverse. And the technique you will be putting to the test will be Direct Spherification: this is when sodium alginate and a gelling solution is mixed into your preferred liquid. This mixture is then dropped into calcium chloride, which will create a thin gel like shell around the outside of the mixture.
After all of that, you can just pop it in your mouth! Please note that the gel shell around your liquid is still quite delicate, and at risk of popping when handled carelessly.
What You Need:
- One large bowl that holds four cups of water
- One small bowl filled with tap water for rinsing
- One small bowl filled with one cup of drinking water
- A digital scale
- A hand mixer
- A mixing spoon
- A curved spoon or ladle
- Sodium Alginate
- Water
- Calcium Lactate
What You Do:
- Add 1 gram of sodium alginate to the bowl containing 1 cup of drinking water.
- Use the hand mixer to combine the two ingredients thoroughly. Once the sodium alginate is fully dissolved, let the solution sit for 15 minutes to ensure there are no air bubbles.
- Take 5 grams of calcium lactate and add it to the large bowl holding 4 cups of water.
- Mix the solution well using an ordinary whisk or mixing spoon. Make sure the calcium lactate is completely dissolved.
- Take your curved spoon or ladle and scoop up the sodium alginate solution and gently place it into the calcium lactate bath. It will start to form a sphere immediately.
- Repeat the process, but don't let the bath become over-crowded. There needs to be room so that each sphere can be fully immersed in the calcium lactate solution.
- Once you see that the spheres have taken shape, gently stir the solution for about three minutes to help the gel fully form.
- Take a slotted spoon and remove the water balls.
- Lastly, place them in the small bowl filled with regular water to stop the reaction from continuing.
DIY Solar Oven
 via, Perkins ELearning
You can get crafty with this last science experiment. Solar energy is a great alternative resource, and it’s important students learn and understand the power of our sun. This DIY Solar Oven is great for that! Not only do you get to teach your students about solar powered alternative, everyone even gets a tasty snack out of it.
What You Need:
- Cardboard pizza box
- Pencil
- Ruler
- Box cutter
- Aluminum foil
- Clear packing tape
- Black construction paper
- Plastic wrap
- Newspapers
- Oven mitts
- Dish or pie plate
- Cooking Ingredients: like s’mores or nachos (DO NOT prepare raw meat in these oven)
- Optional: a thermometer that goes up to 250 degrees F.
What You Do:
- Using a ruler and pencil, have students draw a square one inch in from the edges of the top of the box.
- As the teacher, carefully cut out 3 sides of the square using box cutter. (or prep this stage in advance, for your students, to save time)
- Students then: cut a crease along the uncut side of the square to create a flap that stands up.
- Tear a piece of aluminum foil large enough to cover the inner side of the cardboard flap.
- Wrap the foil tightly, and secure with tape.
- Line the bottom of the pizza box with black construction paper.
- Cut two pieces of plastic wrap that are the same size as the top of the pizza box.
- Use tape to secure the plastic wrap to the inside edges of the square window you cut into the box. This way you’re creating a window for the sun to come through.
- Roll up some newspaper pages into tubes to stuff into the sides of the box.
- Now it is time to cook something! Make sure to set the food on a dish so you keep your oven nice and clean.
Fun fact: On a warm and sunny day, the oven can reach up to 200 degrees F!
We love getting crafty with science. Do you have an unique science experiments you like to do with your class? Share it with us in the comments below! We'd love to hear about them.

.png)