1. Shaving Cream Easter Egg
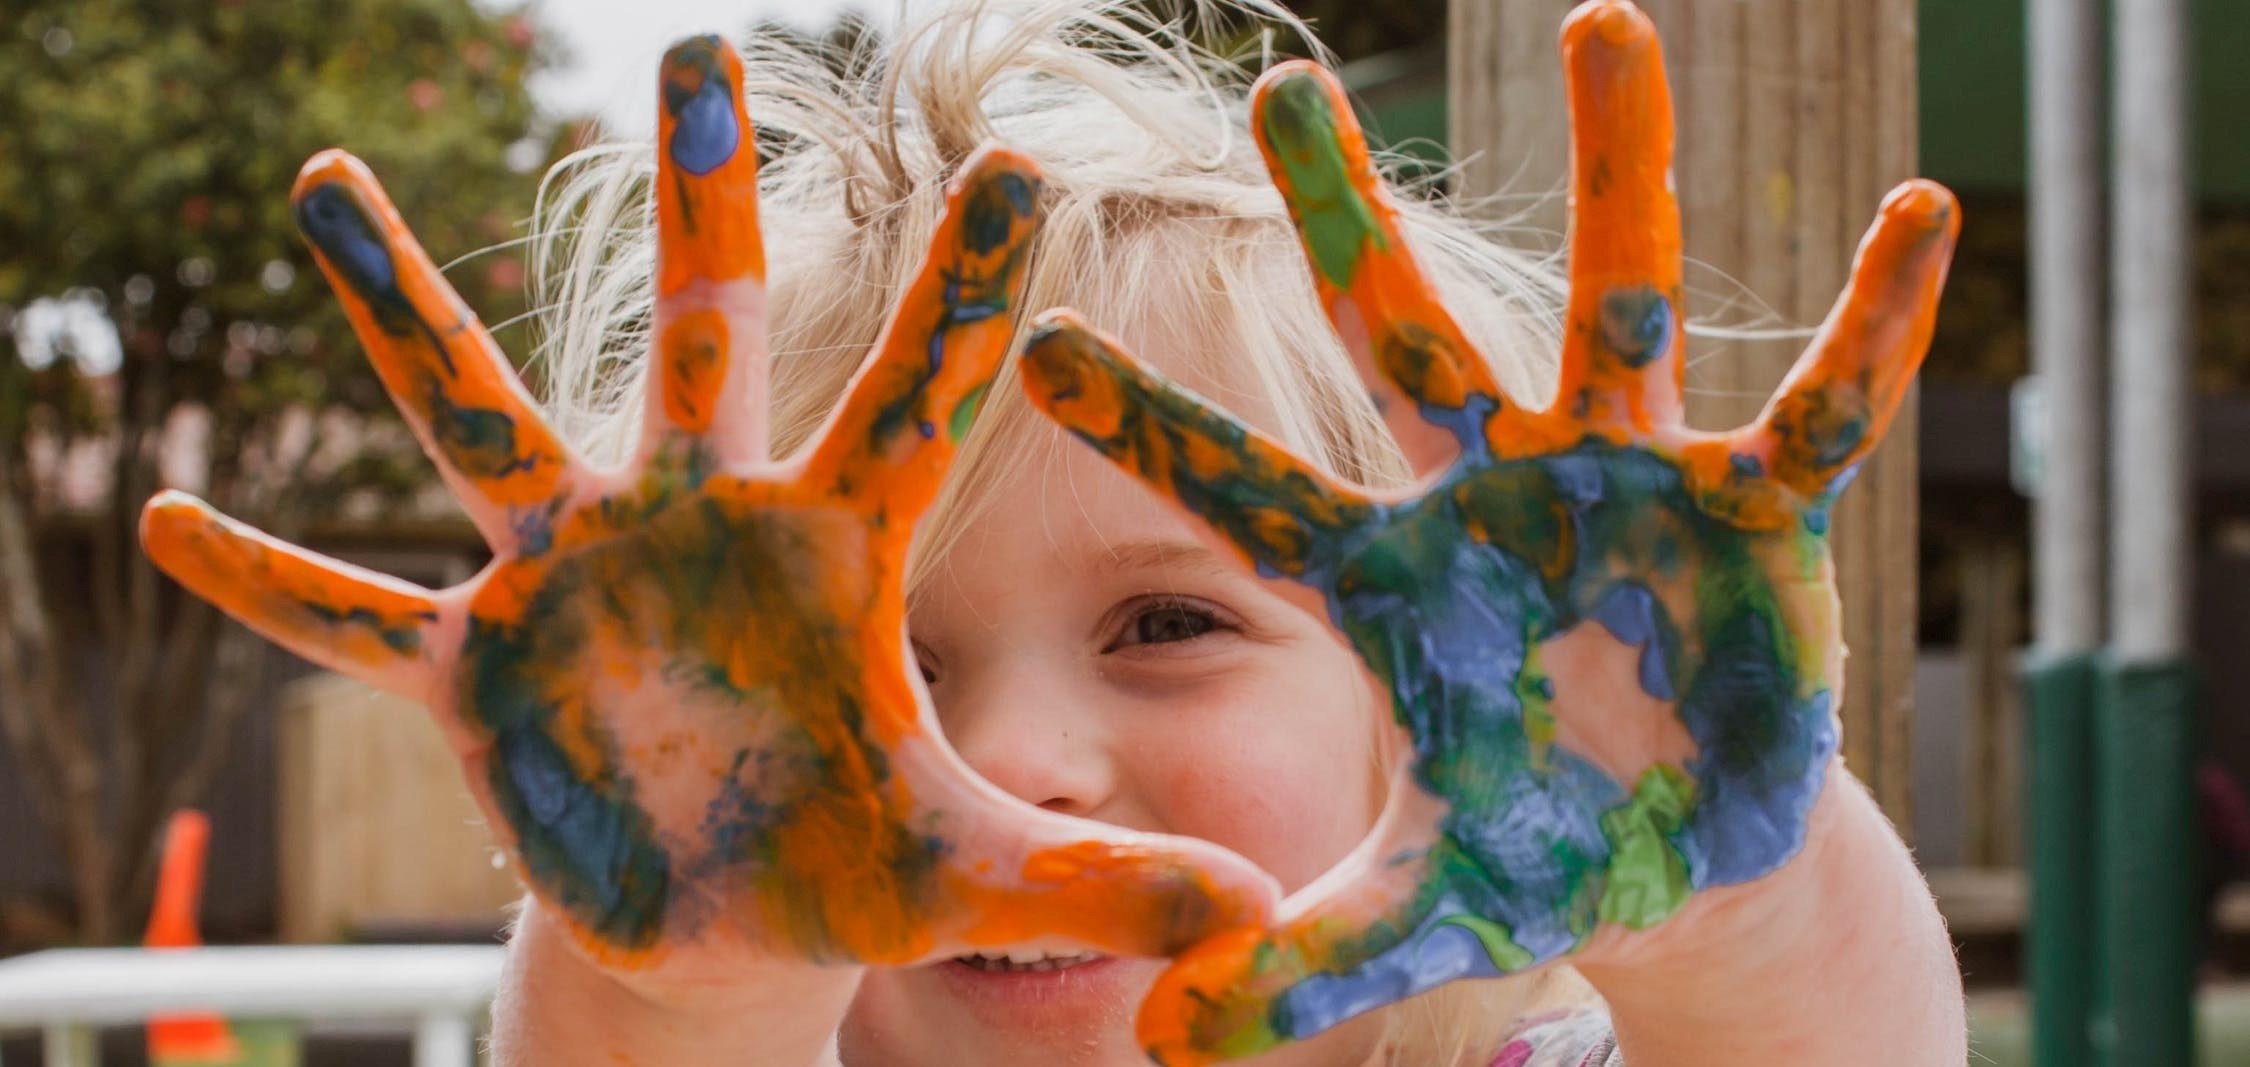
This giant egg is so fun to make and provides a new tactile experience for kids.
Step 1: Cut out some paper eggs. We used heavyweight tagboard so that the shaving cream and paint wouldn't wrinkle the paper. Kids can practice drawing eggs of different sizes, then cutting along the lines they have drawn, or if you have really young kids, pre-cut the eggs for them.
.jpg)
Step 2: Coat a tray with shaving cream so that the surface area of the cream is about an inch bigger than the size of your biggest egg cutouts. Smooth shaving cream so that it is flat (about 1cm thick).
.jpg)
Step 3: Drop paint onto the shaving cream in whatever way you like! We made little dots of colour all over, but feel free to let kids have free reign and experiment with different ways of applying paint!
.jpg)
Step 4: Drag a craft stick or toothpick gently through the shaving cream and paint making straight lines up and down, then do it again making lines side to side. This creates a marbelized effect.
.jpg)
Note: Let kids experiment with how they want to drag their craft stick through the shaving cream. There are no wrong answers here!
Step 5: Once you have your desired effect, lightly place your paper egg on top of the shaving cream and paint mixture, gently pressing it down. Then lift egg off and set aside. Repeat with as many eggs as you like!
.jpg)
Step 6: After a few minutes, the paint will have soaked into the paper enough to leave the design behind, so take a clean craft stick, and wipe away the shaving cream from the top layer.
.jpg)
Beautiful!
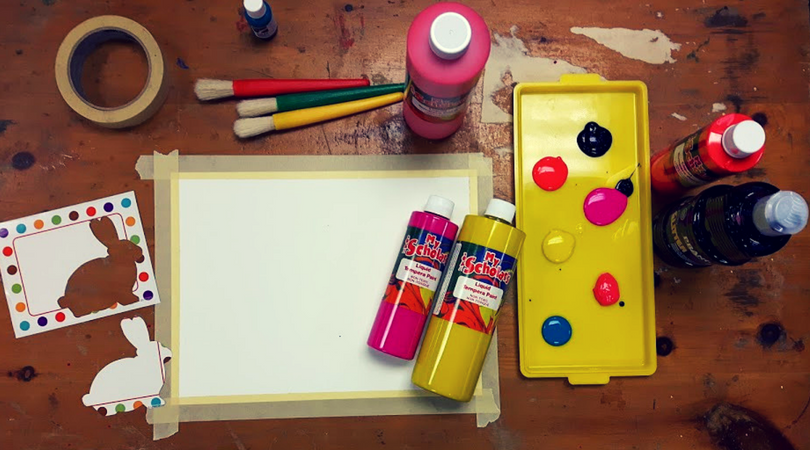
2. Easy Easter Abstract Painting
No matter the age of your painter, this project is guaranteed to turn out well. The more random the paint, the better it looks!
.jpg)
Step 1: Place an Easter-themed sticker on a thick piece of paper or canvas. We traced and cut out our bunny sticker from a larger sheet of sticker material because that is what we had available. You could also use a flower or an egg design if you like.
Step 2: Choose paints, and make your little one a simple pallet of a few colours. We recommend one light colour and two medium tones to start.
Step 3: Give them the paintbrush and let them go to town! After a while you may want to direct them to the white spaces so that the whole paper is covered in the end. (If you are using paper, tape down all four sides. This creates a nice border, and prevents the mayhem from getting out of control).
Step 4: Let the paint dry until it is set, but still tacky, then remove the sticker. Voila! An instant masterpiece!
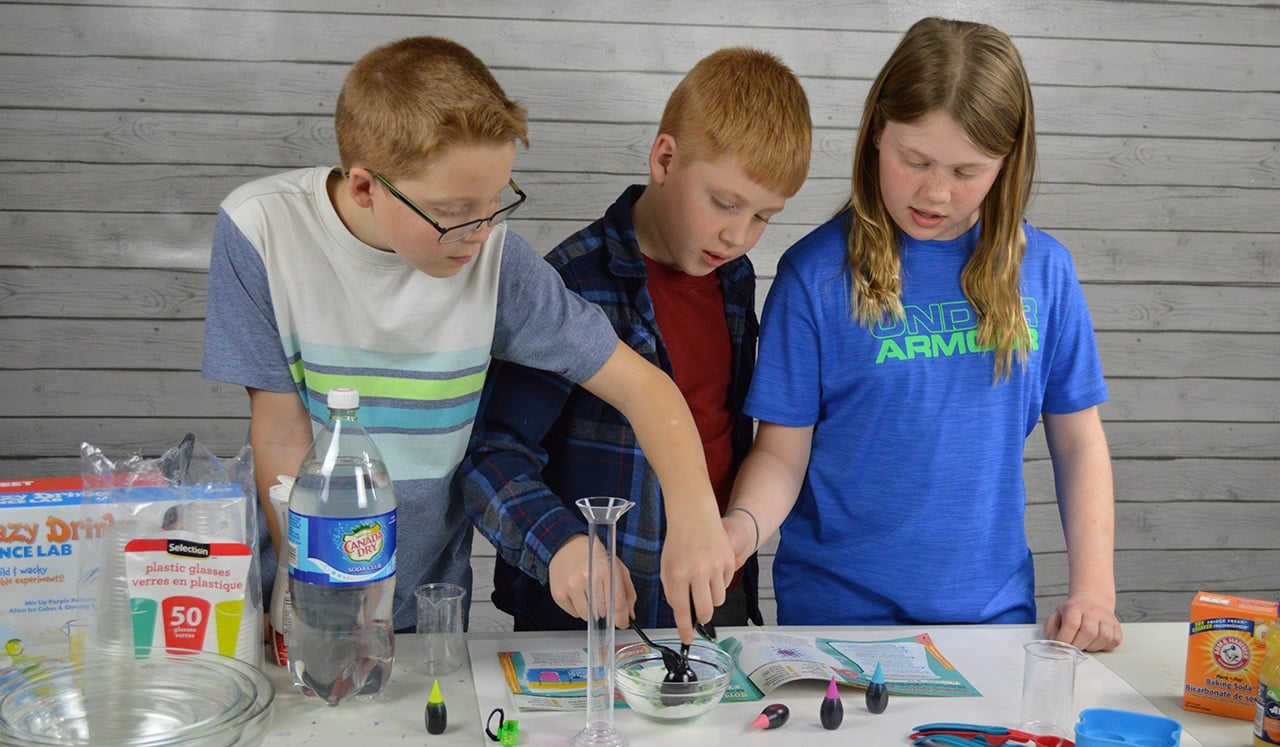
3. Craft Stick Spring Chick
.jpg)
These chicks are so adorable—and who doesn't love a craft that uses the perfect little hands of your kids?
Step 1: Glue 3 craft sticks together into a triangle
Step 2: Paint craft sticks yellow.
Step 3: While paint is drying, cut out a rectangle of paper in any color or pattern you like, we chose gold wrapping paper to make our chick fancy.
Step 4: Trace hands on yellow construction paper and cut out. With leftovers, cut out a circle for the head. Cut out a little triangle beak and some long thin legs with triangles on the end for feet.
Step 5: Glue head, wings, legs, and beak. Add some wiggle eyes for a bit of silliness!
.png)